
7.3 KiB
Deploy on your own
Since the GitHub API only allows a limited number of requests per hour, my https://github-readme-stats-phi-jet-58.vercel.app/api could possibly hit the rate limiter. If you host it on your own Vercel server, then you do not have to worry about anything. Also, if you don't want to give my GitHub-Stats-Extended instance access to your private contributions but still want to include these contributions in your stats, you can simply host your own instance.
First step: get your Personal Access Token (PAT)
For deploying your own instance of GitHub Stats Extended, you will need to create a GitHub Personal Access Token (PAT). Below are the steps to create one and the scopes you need to select for both classic and fine-grained tokens.
Selecting the right scopes for your token is important in case you want to display private contributions on your cards.
Classic token
- Go to Account -> Settings -> Developer Settings -> Personal access tokens -> Tokens (classic).
- Click on
Generate new token -> Generate new token (classic). - Scopes to select:
- repo
- read:user
- Click on
Generate tokenand copy it.
- Click on
Fine-grained token
Warning
This limits the scope to issues in your repositories and includes only public commits.
- Go to Account -> Settings -> Developer Settings -> Personal access tokens -> Fine-grained tokens.
- Click on
Generate new token -> Generate new token. - Select an expiration date
- Select
All repositories - Scopes to select in
Repository permission:- Commit statuses: read-only
- Contents: read-only
- Issues: read-only
- Metadata: read-only
- Pull requests: read-only
- Click on
Generate tokenand copy it.
- Click on
On Vercel
📽️ Check Out Step By Step Video Tutorial By @codeSTACKr
Click on the deploy button to get started!
🛠️ Step-by-step guide on setting up your own Vercel instance
- Go to vercel.com.
- Click on
Log in. 3. Sign in with GitHub by pressing
 Continue with GitHub.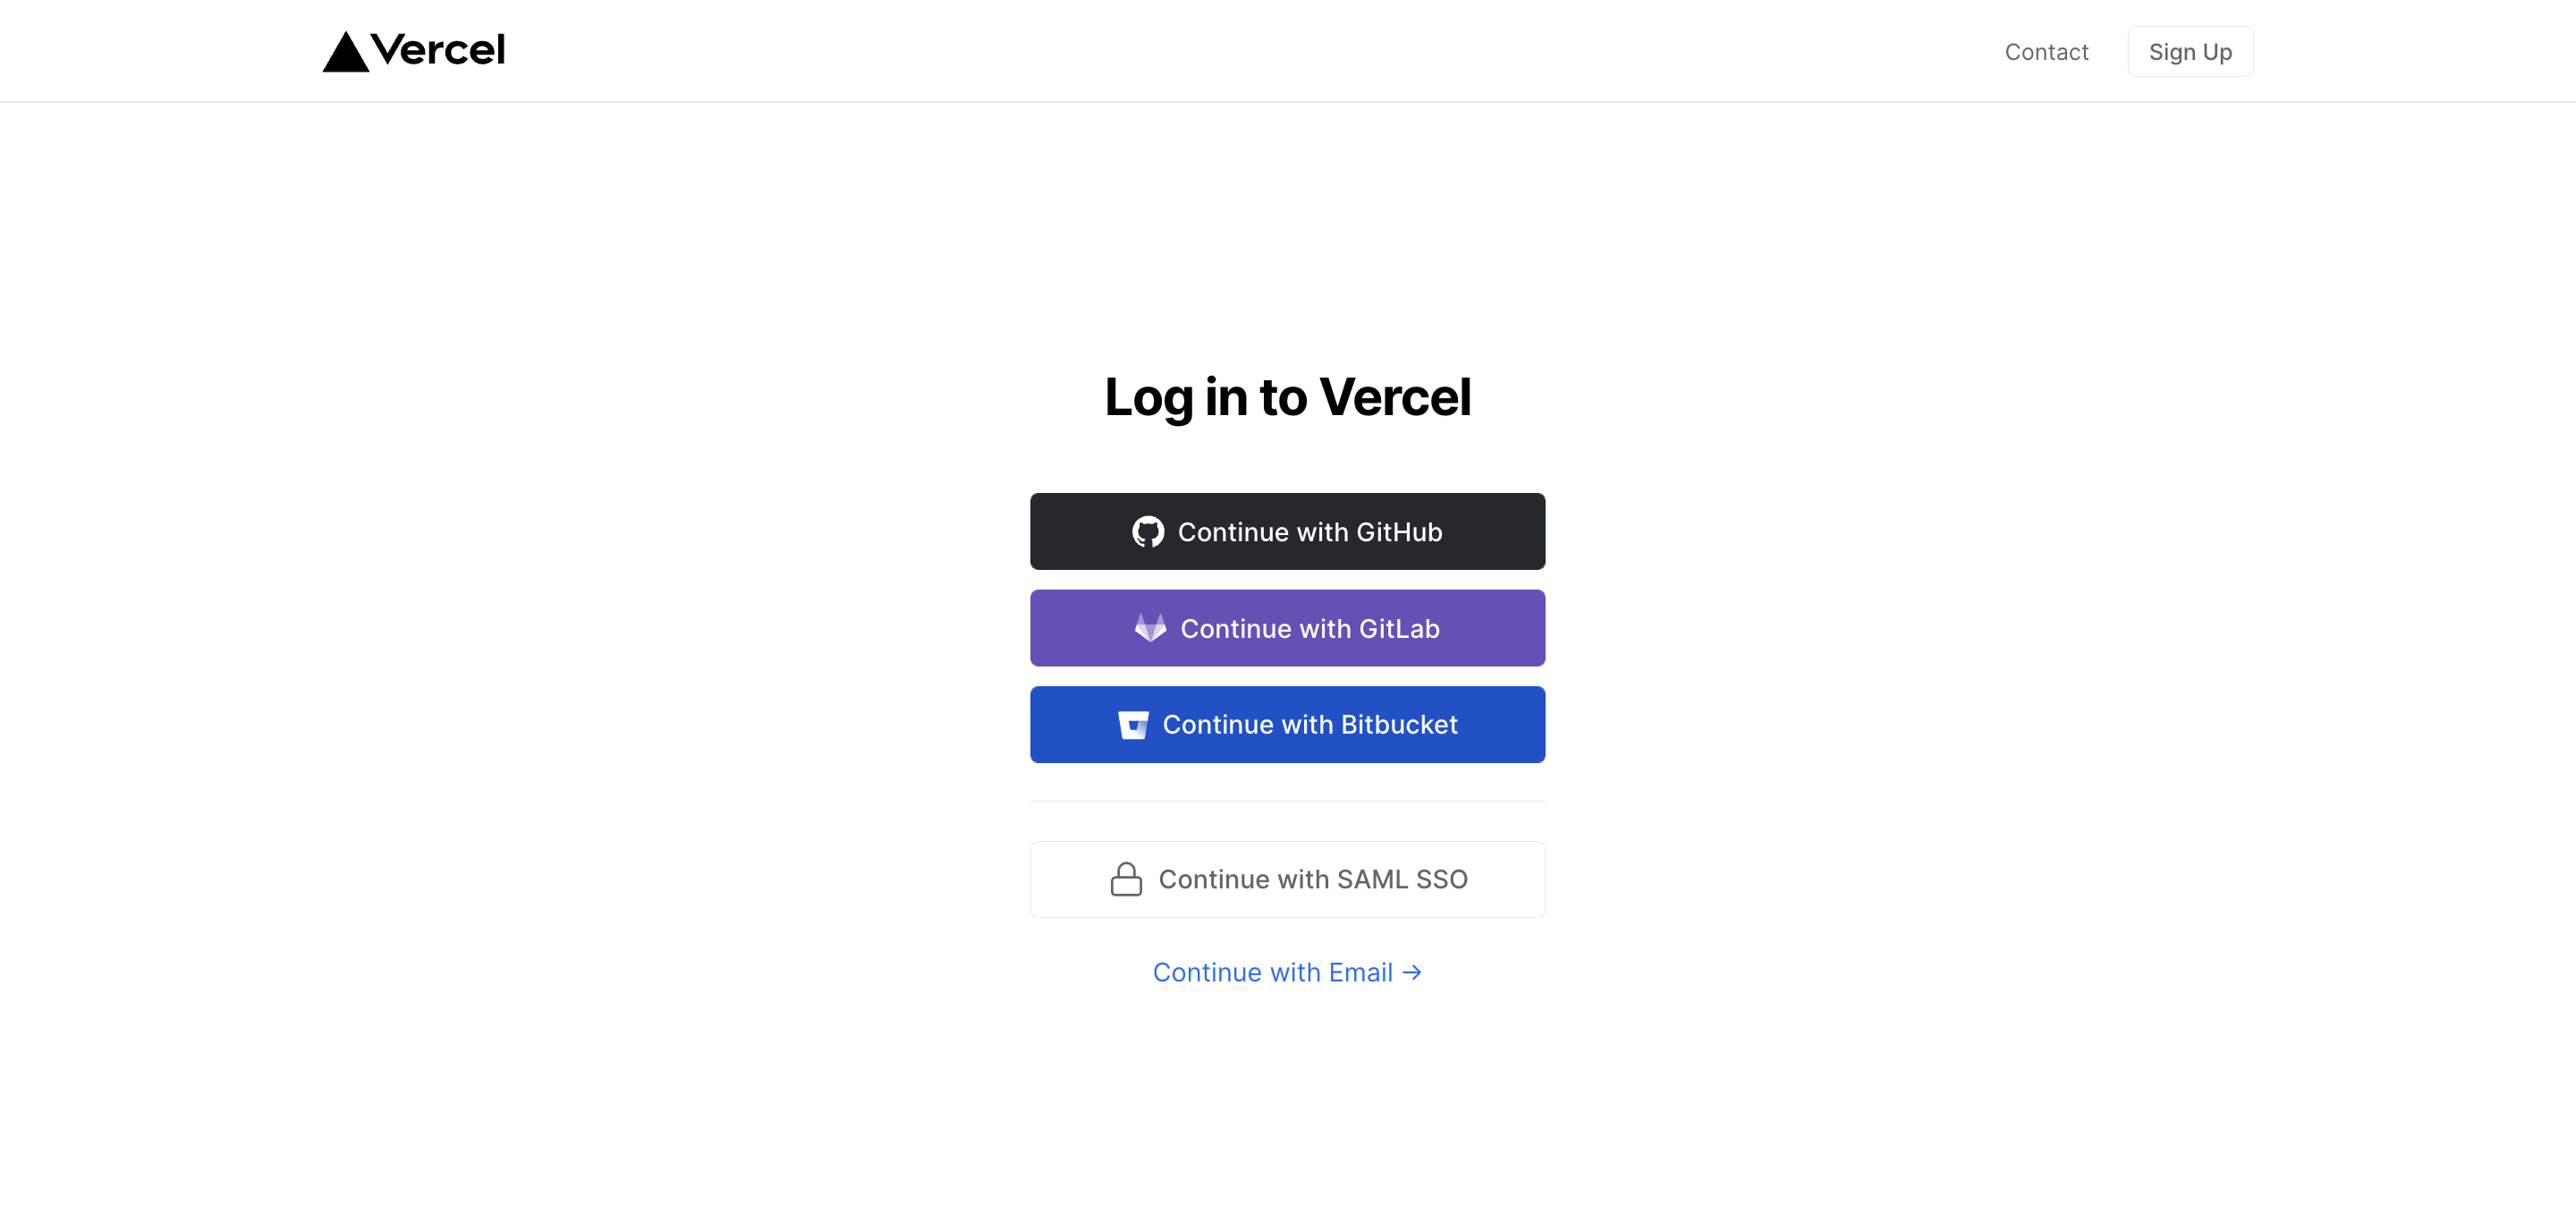 4. Sign in to GitHub and allow access to all repositories if prompted.
5. Fork this repo.
6. Go back to your Vercel dashboard.
7. To import a project, click the
4. Sign in to GitHub and allow access to all repositories if prompted.
5. Fork this repo.
6. Go back to your Vercel dashboard.
7. To import a project, click the Add New...button and select theProjectoption.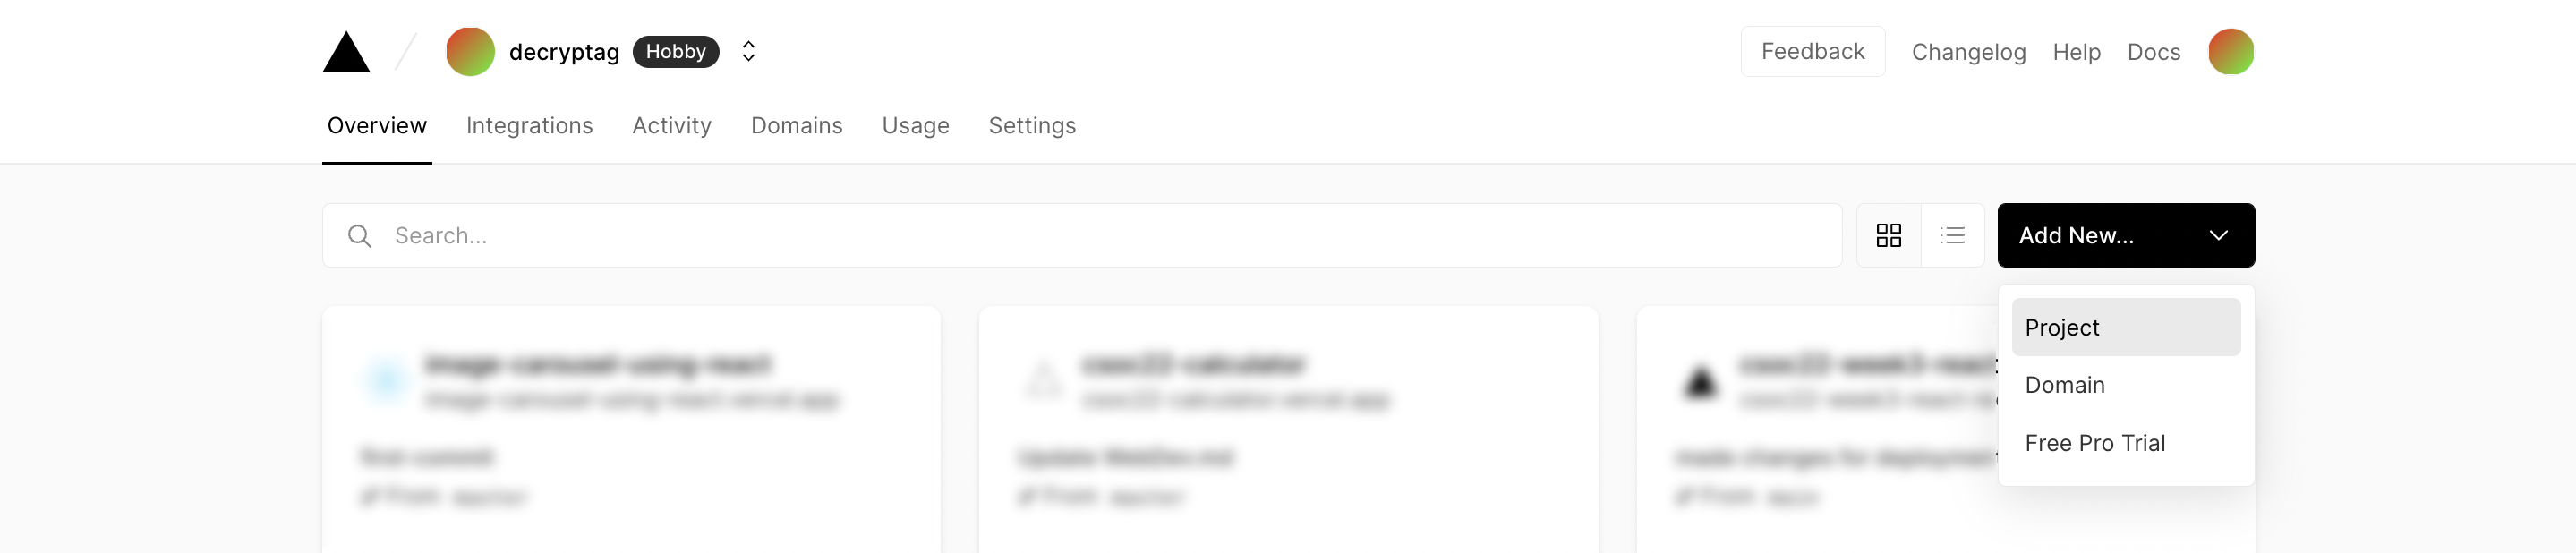 8. Click the
 Continue with GitHubbutton, search for the required Git Repository and import it by clicking theImportbutton. Alternatively, you can import a Third-Party Git Repository using theImport Third-Party Git Repository ->link at the bottom of the page.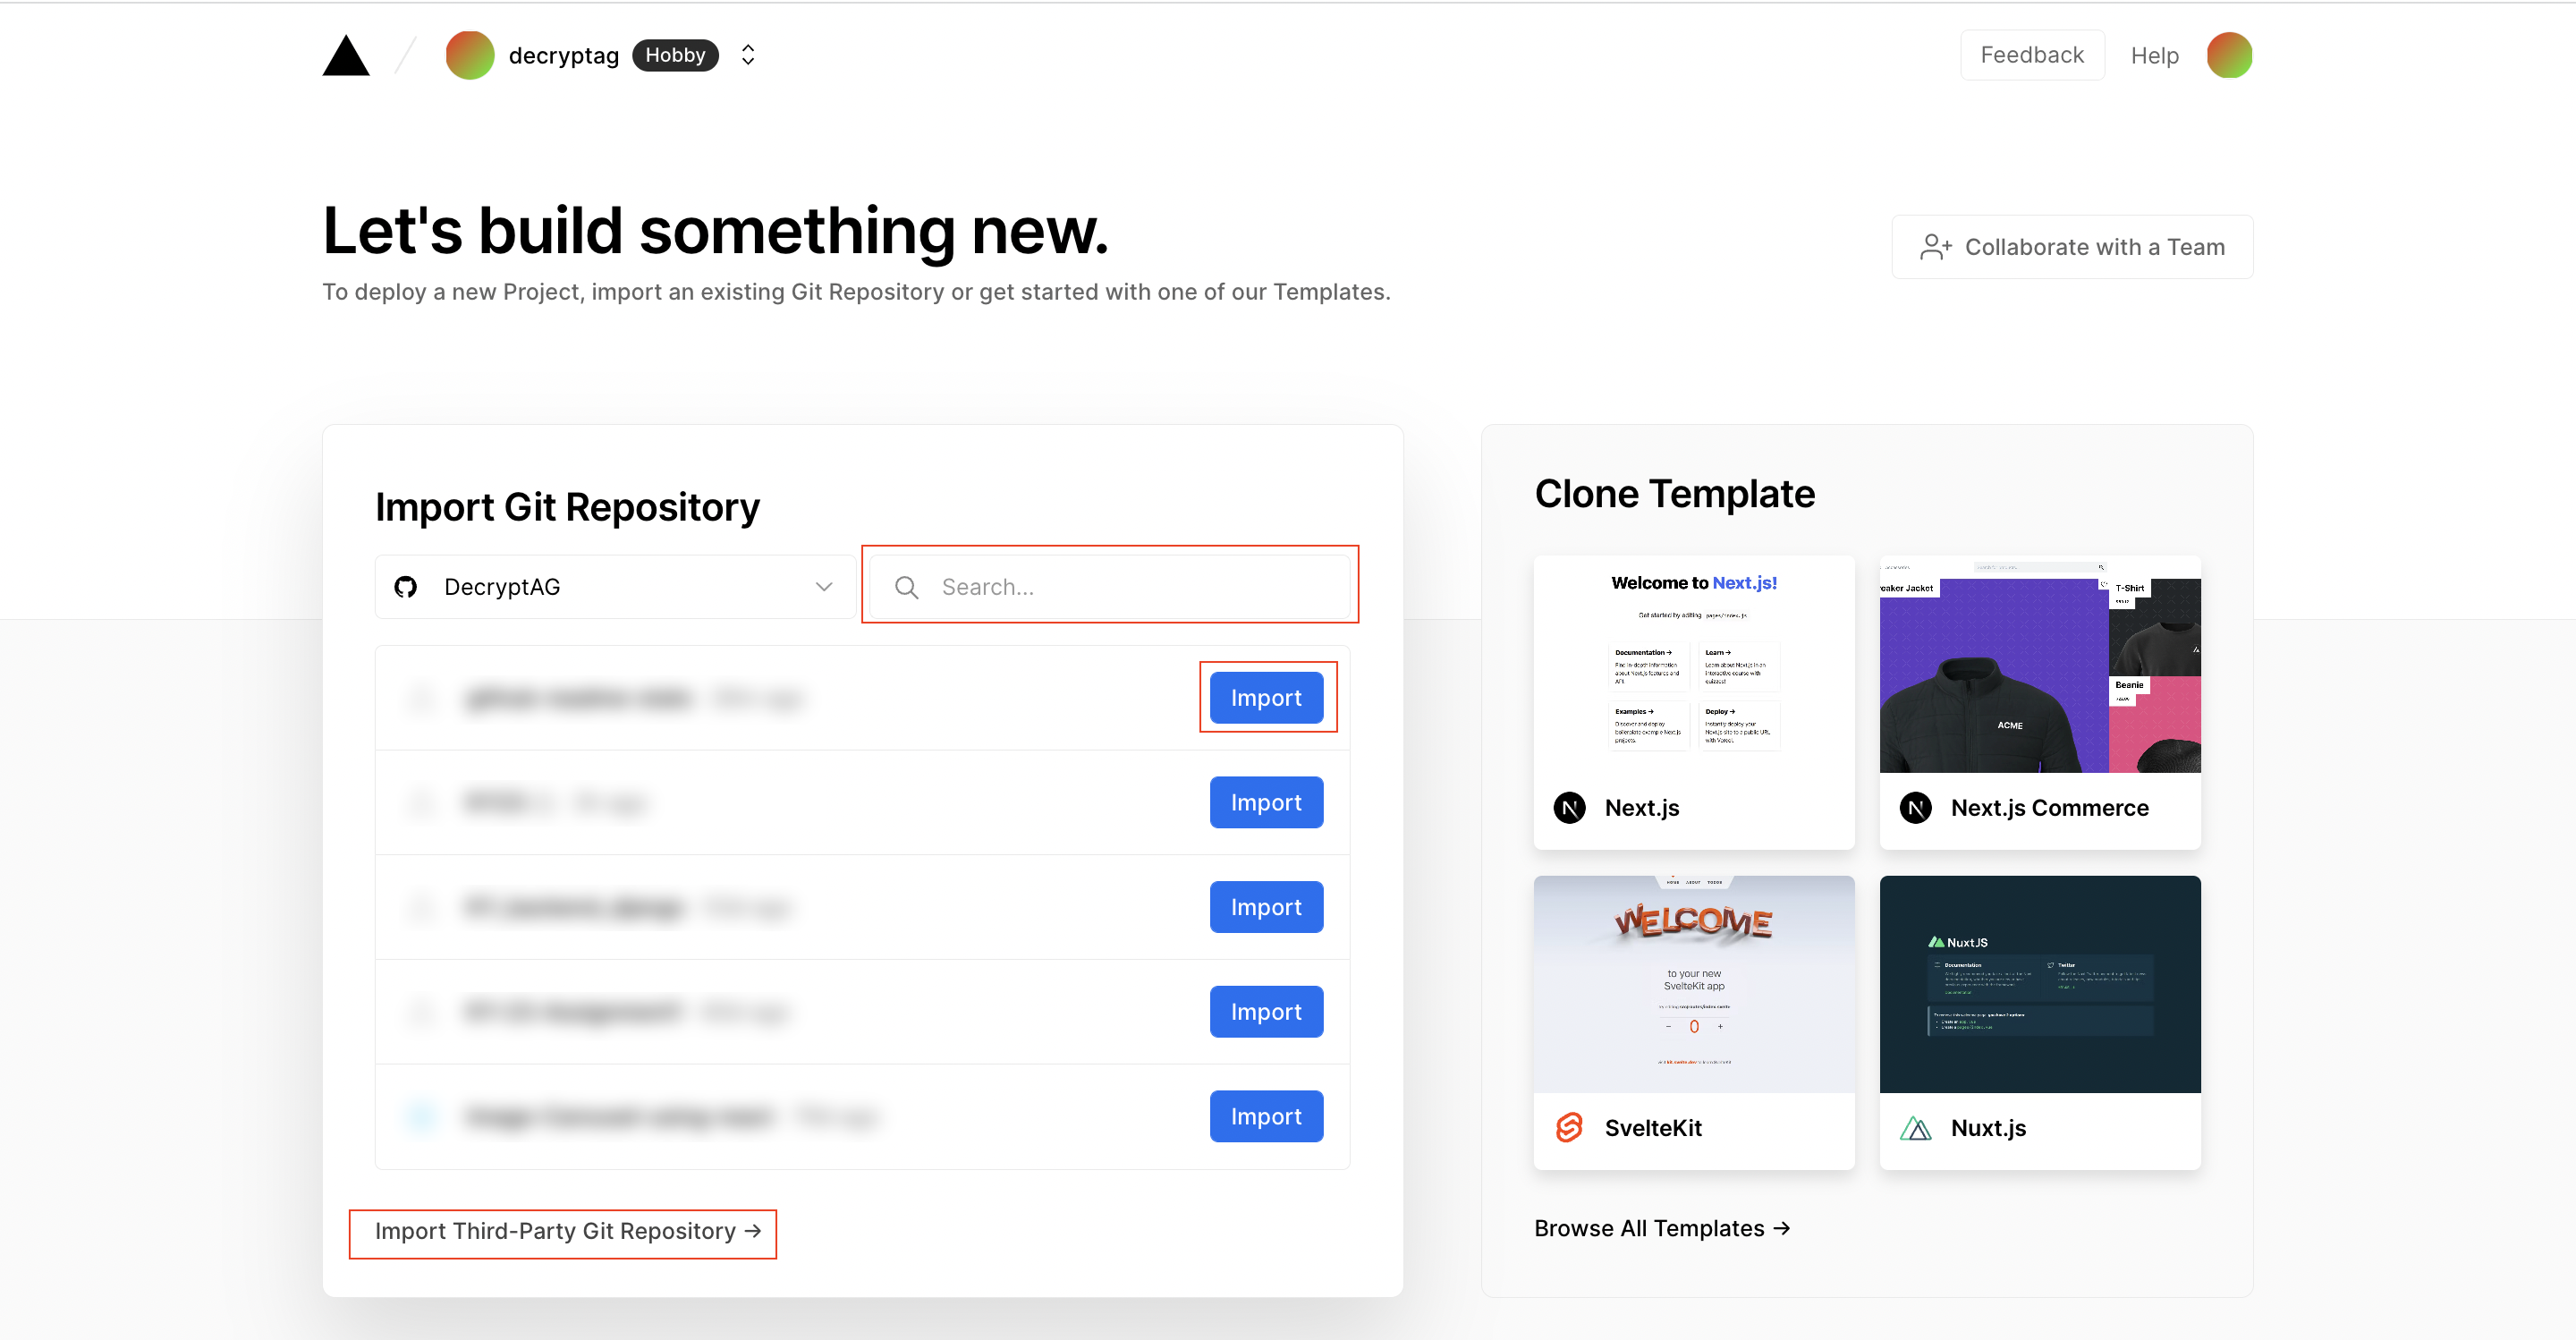 9. Create a Personal Access Token (PAT) as described in the previous section.
10. Add the PAT as an environment variable named
9. Create a Personal Access Token (PAT) as described in the previous section.
10. Add the PAT as an environment variable named PAT_1(as shown).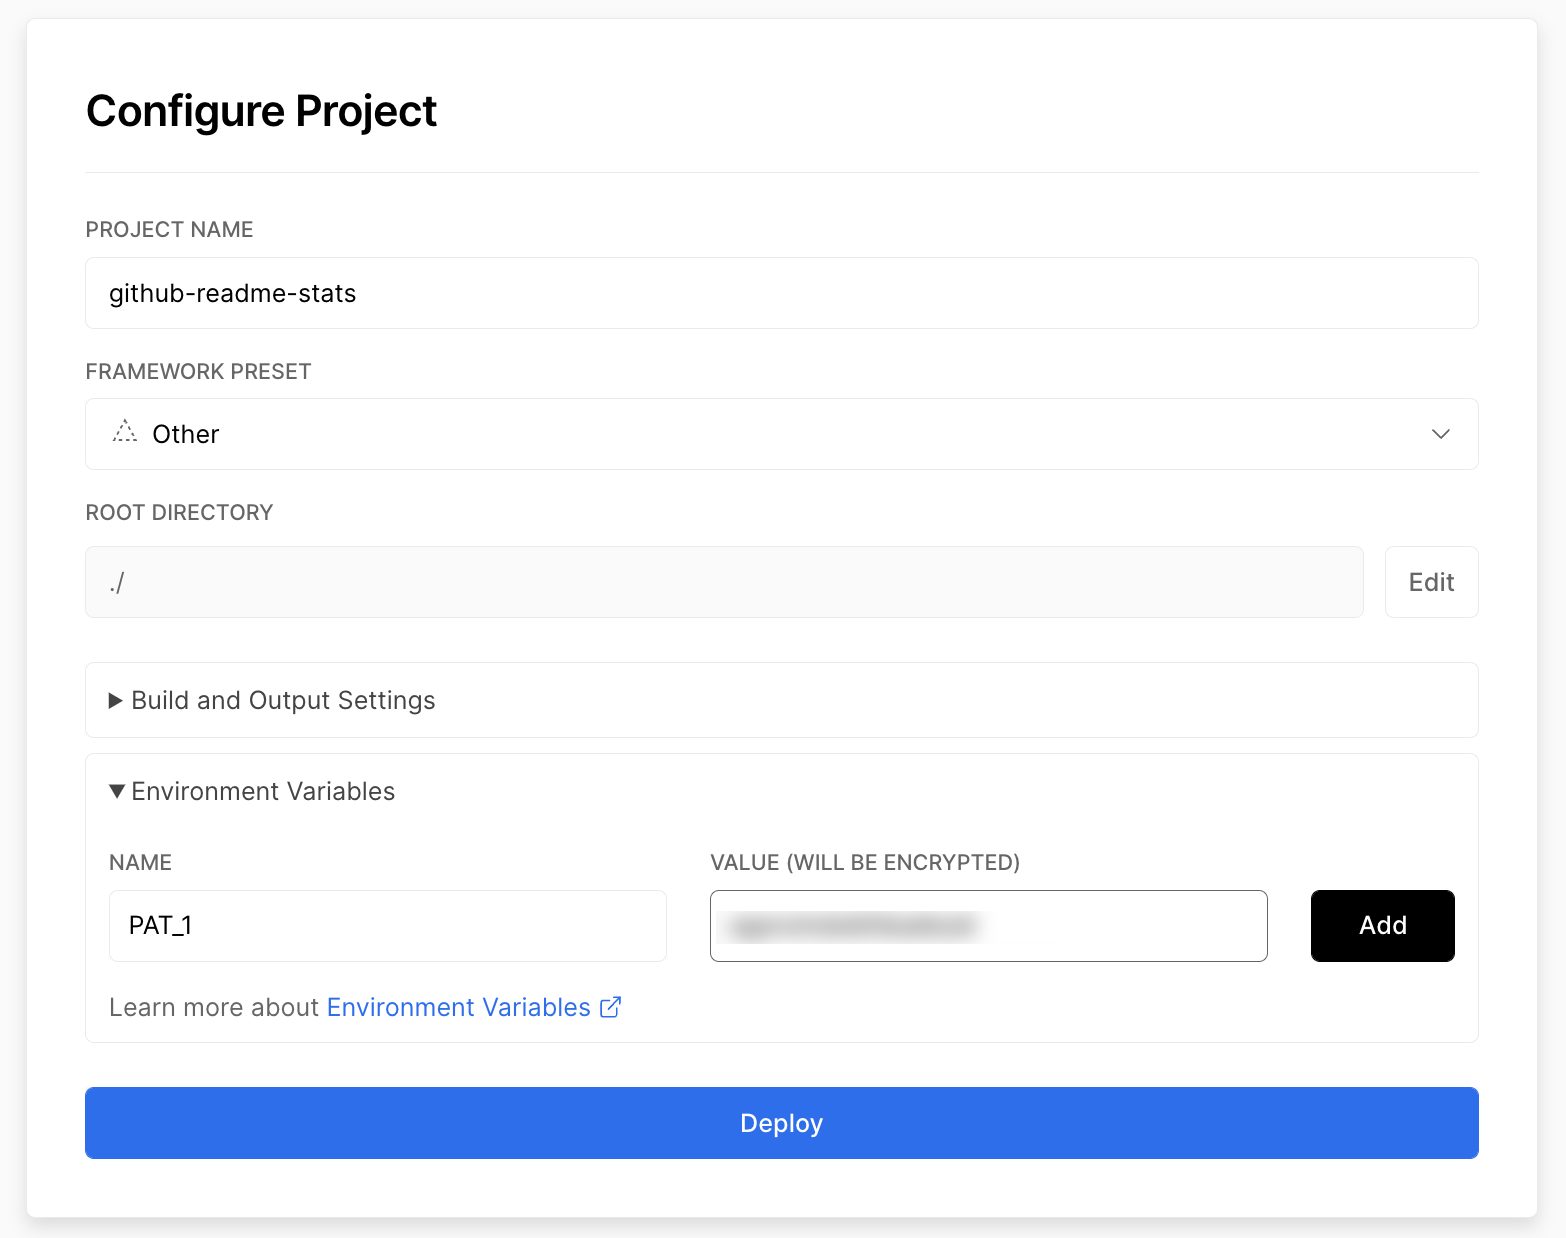 11. Click deploy, and you're good to go. See your domains to use the API!
On other platforms
Warning
This way of using GitHub-Stats-Extended is not officially supported and was added to cater to some particular use cases where Vercel could not be used (e.g. #2341). The support for this method, therefore, is limited.
🛠️ Step-by-step guide for deploying on other platforms
- Fork or clone this repo as per your needs
- Move
expressfrom the devDependencies to the dependencies section ofpackage.jsonhttps://github.com/anuraghazra/github-readme-stats/blob/ba7c2f8b55eac8452e479c8bd38b044d204d0424/package.json#L54-L61 3. Runnpm iif needed (initial setup) 4. Runnode express.jsto start the server, or set the entry point toexpress.jsinpackage.jsonif you're deploying on a managed service https://github.com/anuraghazra/github-readme-stats/blob/ba7c2f8b55eac8452e479c8bd38b044d204d0424/package.json#L11 5. You're done 🎉
Available environment variables
GitHub Readme Stats provides several environment variables that can be used to customize the behavior of your self-hosted instance. These include:
| Name | Description | Supported values |
|---|---|---|
CACHE_SECONDS |
Sets the cache duration in seconds for the generated cards. This variable takes precedence over the default cache timings for the public instance. If this variable is not set, the default cache duration is 24 hours (86,400 seconds). | Any positive integer or 0 to disable caching |
WHITELIST |
A comma-separated list of GitHub usernames that are allowed to access your instance. If this variable is not set, all usernames are allowed. | Comma-separated GitHub usernames |
GIST_WHITELIST |
A comma-separated list of GitHub Gist IDs that are allowed to be accessed on your instance. If this variable is not set, all Gist IDs are allowed. | Comma-separated GitHub Gist IDs |
EXCLUDE_REPO |
A comma-separated list of repositories that will be excluded from stats and top languages cards on your instance. This allows repository exclusion without exposing repository names in public URLs. This enhances privacy for self-hosted instances that include private repositories in stats cards. | Comma-separated repository names |
FETCH_MULTI_PAGE_STARS |
Enables fetching all starred repositories for accurate star counts, especially for users with more than 100 repositories. This may increase response times and API points usage, so it is limited to 10 fetches - i.e. 1000 repos - on the public instance. | true or false or a maximum number of fetches |
See the Vercel documentation on adding these environment variables to your Vercel instance.
Warning
Please remember to redeploy your instance after making any changes to the environment variables so that the updates take effect. The changes will not be applied to the previous deployments.
Keep your fork up to date
You can keep your fork, and thus your private Vercel instance up to date with the upstream using GitHub's Sync Fork button. You can also use the pull package created by @wei to automate this process.